Introduction
Lighting is the heart and soul of professional studio photography. It shapes the mood, defines the subject, and brings an image to life. No matter how advanced your camera is, without the right lighting, your photos will lack depth and professionalism. Understanding how to manipulate light can make the difference between an ordinary picture and a stunning masterpiece.
In this article, we’ll dive deep into why lighting plays such a vital role in studio photography, how to optimize it for your shoots, and expert tips to elevate your work.
Why Lighting is Essential in Professional Studio Photography
Lighting is essential in professional studio photography because it controls how a subject appears in a photo. Good lighting highlights details, adds dimension, creates mood, and directs the viewer’s attention. It can transform a flat image into a visually captivating piece. Whether it’s soft, natural light or dramatic artificial setups, photographers use lighting to express creativity and ensure the final image aligns with their artistic vision. Poor lighting, on the other hand, can result in dull, uninspiring photos that lack clarity and impact.
The Power of Lighting: What Makes it So Important?
Lighting is more than just brightness; it’s a creative tool. In a professional studio setting, lighting defines textures, emphasizes shadows, and separates the subject from the background. It can soften features with diffused light or create drama with harsh, directional lighting. Moreover, it enhances skin tones, reduces unwanted reflections, and minimizes post-processing work. In fact, seasoned photographers often say that photography is 80% about lighting and 20% about composition and editing.
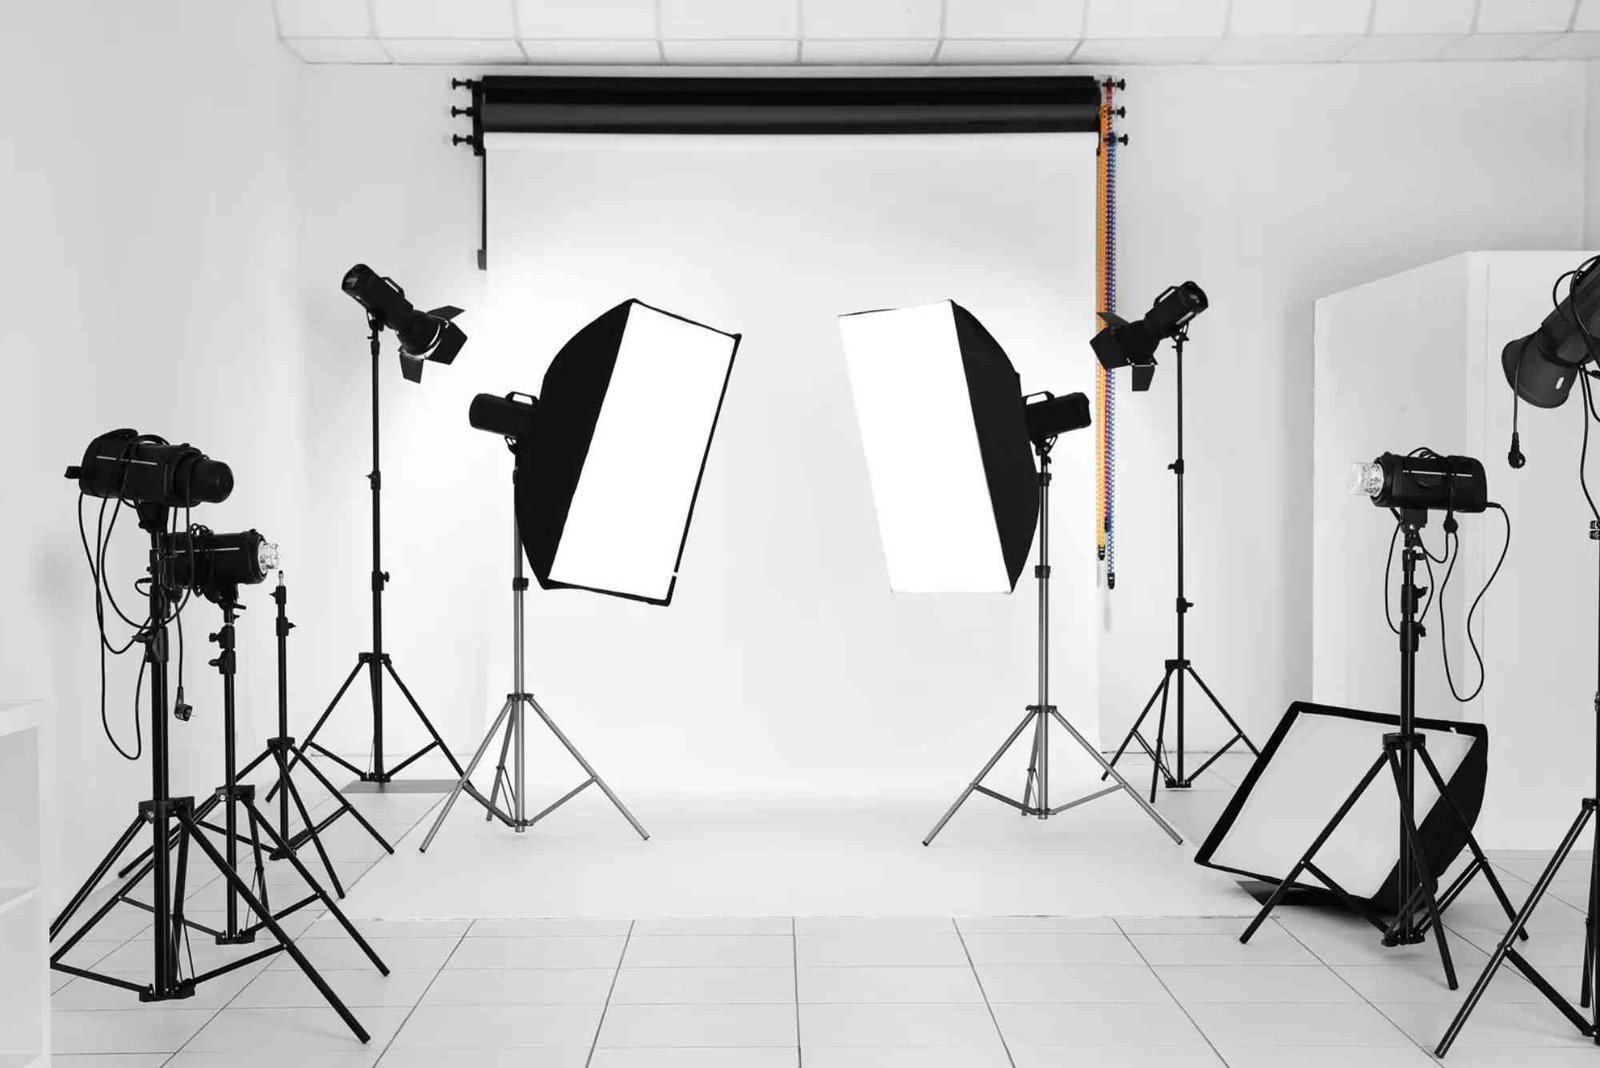
Types of Lighting Used in Studio Photography
There are several types of lighting setups commonly used in studios, each delivering distinct effects:
-
Key Light: The primary light source that defines the subject.
-
Fill Light: Reduces shadows created by the key light.
-
Backlight: Adds separation between the subject and background.
-
Hair Light or Rim Light: Highlights edges to create depth.
-
Softboxes and Umbrellas: Modify light to soften or diffuse it.
Understanding when and how to use these lighting setups is crucial for producing professional-grade images.
Instructions for Perfect Studio Lighting
Define Your Creative Vision
Before setting up any lights, clarify your goal. Are you aiming for a moody portrait or a bright, high-key fashion shoot? Your vision will determine the type and placement of lights.
Choose the Right Lighting Equipment
Select the appropriate gear based on your vision:
-
For soft, natural looks: Use softboxes or diffusers.
-
For dramatic, shadow-heavy shots: Consider using bare bulbs or snoots.
Start with a Key Light
Position your key light at a 45-degree angle to the subject to create flattering shadows and depth. Adjust the height and distance to control contrast and intensity.
Add Fill Light to Control Shadows
To soften harsh shadows, introduce a fill light opposite the key light. Adjust its brightness to balance the scene without overpowering the key light.
Use Backlight for Separation
Place a backlight behind the subject aimed at the background or the subject’s shoulders to create a rim of light. This technique helps in isolating the subject from the background.
Fine-Tune and Test
Capture test shots and make necessary adjustments to lighting angles, intensities, and modifiers. Pay attention to hotspots, uneven shadows, or unwanted reflections.
Why Lighting is a Studio Photographer’s Best Friend (SERP LIST SNIPPET)
Here are five reasons why lighting is key in professional studio photography:
-
Shapes Mood and Atmosphere – Lighting sets the tone of an image.
-
Highlights Subject Details – Brings out textures and features.
-
Controls Depth and Dimension – Adds visual separation and 3D effect.
-
Reduces Editing Time – Correct lighting minimizes post-processing.
-
Focuses Viewer Attention – Directs eyes to key elements in the frame.
Practical Tips to Master Studio Lighting
Experiment with Angles: Slightly shifting a light source can drastically change the photo’s mood and style. Don’t be afraid to try unconventional placements.
Master Light Ratios: Balancing the intensity between key and fill lights ensures a natural look. A typical portrait might have a 2:1 key-to-fill light ratio.
Use Reflectors Wisely: Reflectors bounce light back onto the subject, reducing shadows and softening the image. They are a cost-effective way to enhance your setup.
Understand Color Temperature: Mixing warm (tungsten) and cool (daylight) light sources can create color casts. Match light sources or correct in post-production.
Keep it Simple: Sometimes, a single light source is all you need to create a stunning image. Focus on quality and placement over quantity.
Where to Book a Photography Studio in UAE
If you’re ready to put your lighting skills to the test, finding a professional studio space is essential. Many photographers in the UAE rely on fully-equipped studios with proper lighting setups to achieve flawless shots. For photographers looking to elevate their work in a professional environment, check out this resource for Where to book a photography studio in UAE.
Why Lighting Matters for Different Photography Genres
Each photography genre relies on lighting differently:
-
Portrait Photography: Soft lighting for flattering skin tones and reduced shadows.
-
Product Photography: Even lighting to highlight details and textures.
-
Fashion Photography: Dramatic lighting to emphasize fabrics and styling.
-
Corporate Headshots: Balanced lighting for a professional, approachable look.
Understanding genre-specific lighting techniques helps tailor your setup for every project.
FAQs – Lighting in Studio Photography
Q1: How can beginners improve studio lighting?
A: Start simple with one key light and a reflector. Gradually experiment with multiple lights and modifiers as you gain confidence.
Q2: Should I use natural or artificial lighting in a studio?
A: Artificial lighting provides more control and consistency, but blending natural light can add warmth and realism to photos.
Q3: What is the best light modifier for portraits?
A: Softboxes are a popular choice as they create soft, even lighting ideal for portraits.
Q4: Can I achieve professional results with affordable lighting gear?
A: Yes, understanding light principles matters more than expensive equipment. Many budget-friendly lights and modifiers produce excellent results.
Q5: Where can I find more resources on professional services in Dubai?
A: For comprehensive business listings and professional services, Find more in Dubai.
Mastering studio lighting is essential for any photographer aiming to produce professional-level work. From shaping mood to enhancing details, lighting can make or break a photo. By following the techniques and steps shared above, you’ll be able to take full control of your studio environment and craft compelling images that stand out.